How to Configure your VS Code in the Datacoves Transform tab
When you first log into Datacoves, you will see that VS Code is disabled.
We need to connect to your git repository and to your data warehouse and configure your dbt profiles.yml. To do this, you need to update your user settings.
Open Your User Settings
At the top right corner of the page, click the User icon and select Settings

Setup git connection credentials
On the settings page scroll down to the Git SSH keys section.
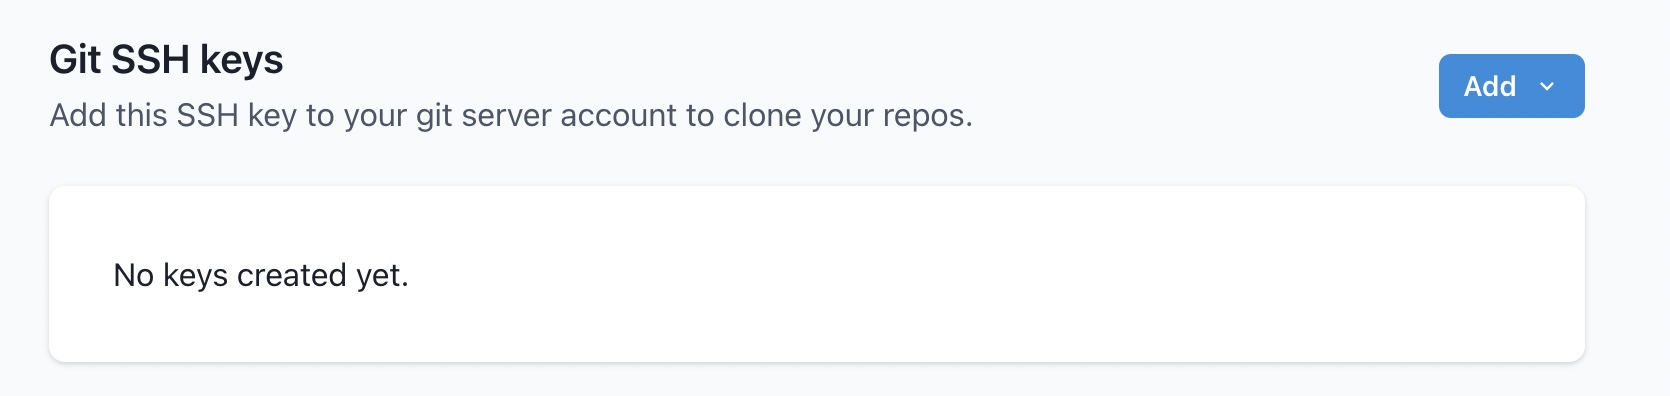
Click the Add drop down and select whether you want to provide an existing private key or have Datacoves auto generate one for you.
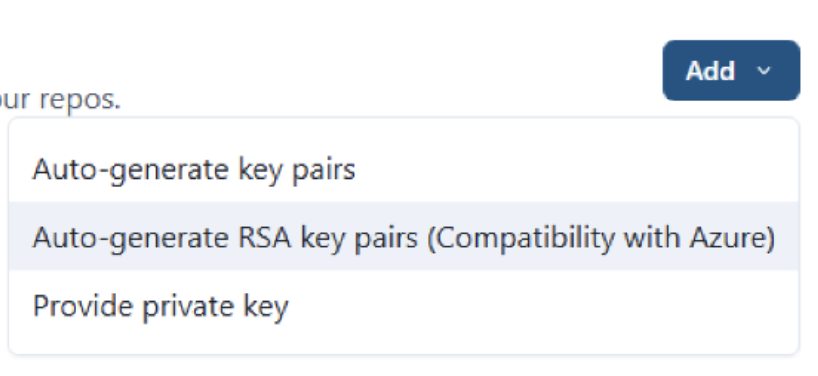
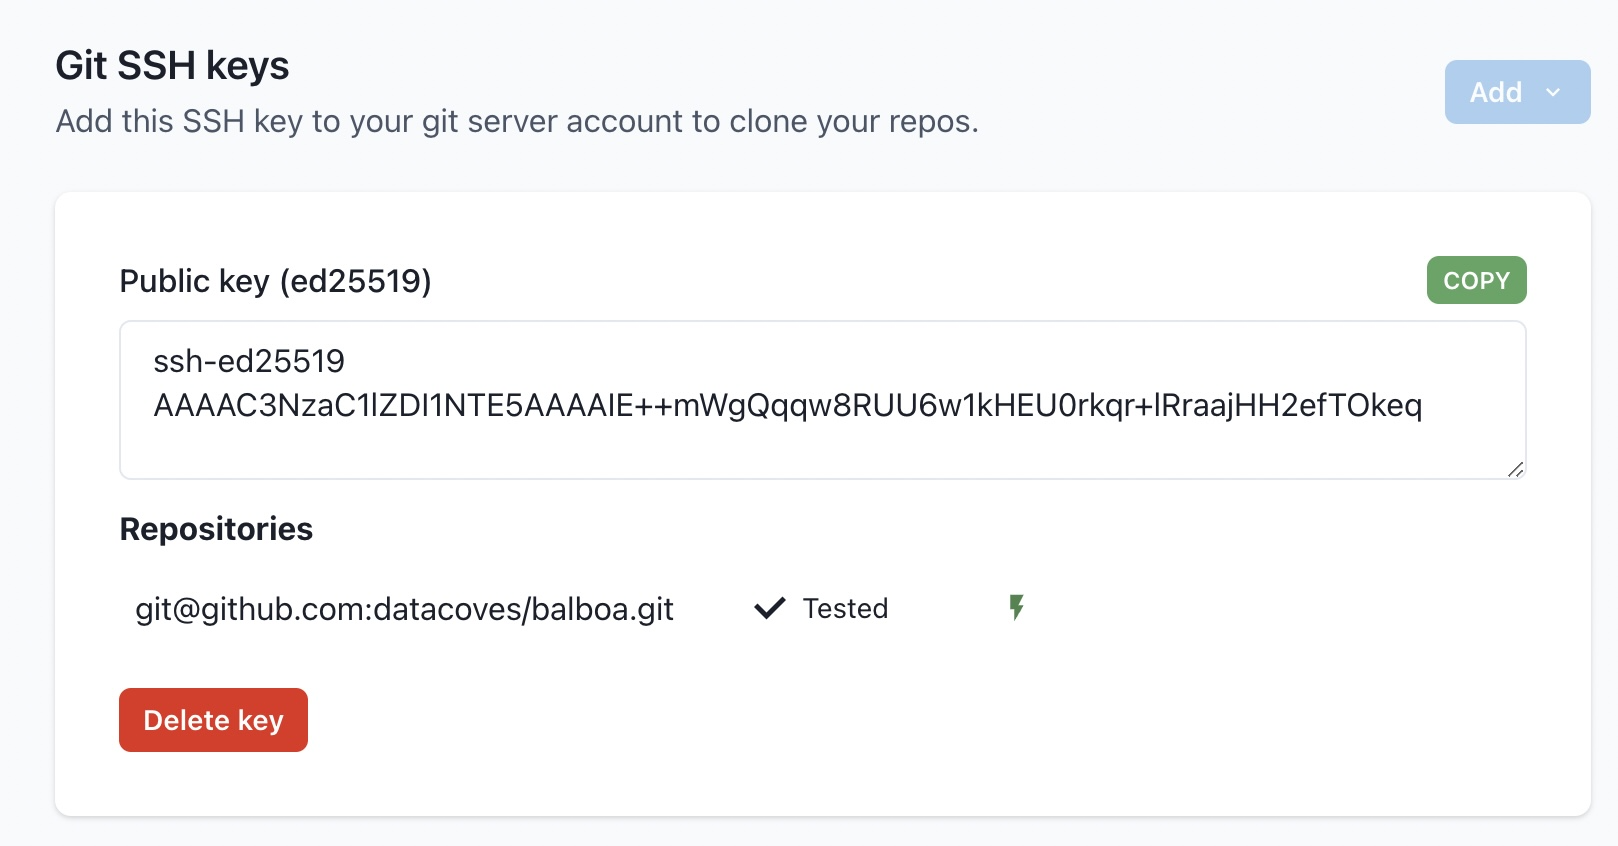
Datacoves will generate and display the corresponding public key, you will need to configure the public key for your git provider. If your Git provider is Azure DevOps, select Auto-generate RSA key pairs (Compatibility with Azure) instead of the default auto-generate option.

Click the Copy button and follow the instructions to configure the public key for your git server.
Github SSH Key Configuration Instructions
Gitlab SSH Key Configuration Instructions
Bitbucket SSH Key Configuration Instructions
Azure DevOps SSH Key Configuration Instructions. Follow only Step 2: Add the public key to Azure DevOps, substeps 1–4. Paste the public key you copied from Datacoves into the Public Key Data field. You can skip substeps 5–7.
Once your public SSH key has been added to your git server, test your connection.

If Datacoves is able to connect to your Git repository, you will see Tested next to the repository url.
Set up Database Connection
Below you will see a reference chart with the information you will need based on your data warehouse provider. Select your data warehouse provider from the table below to see the how to guide.
BigQuery Setup Instructions
BigQuery Setup
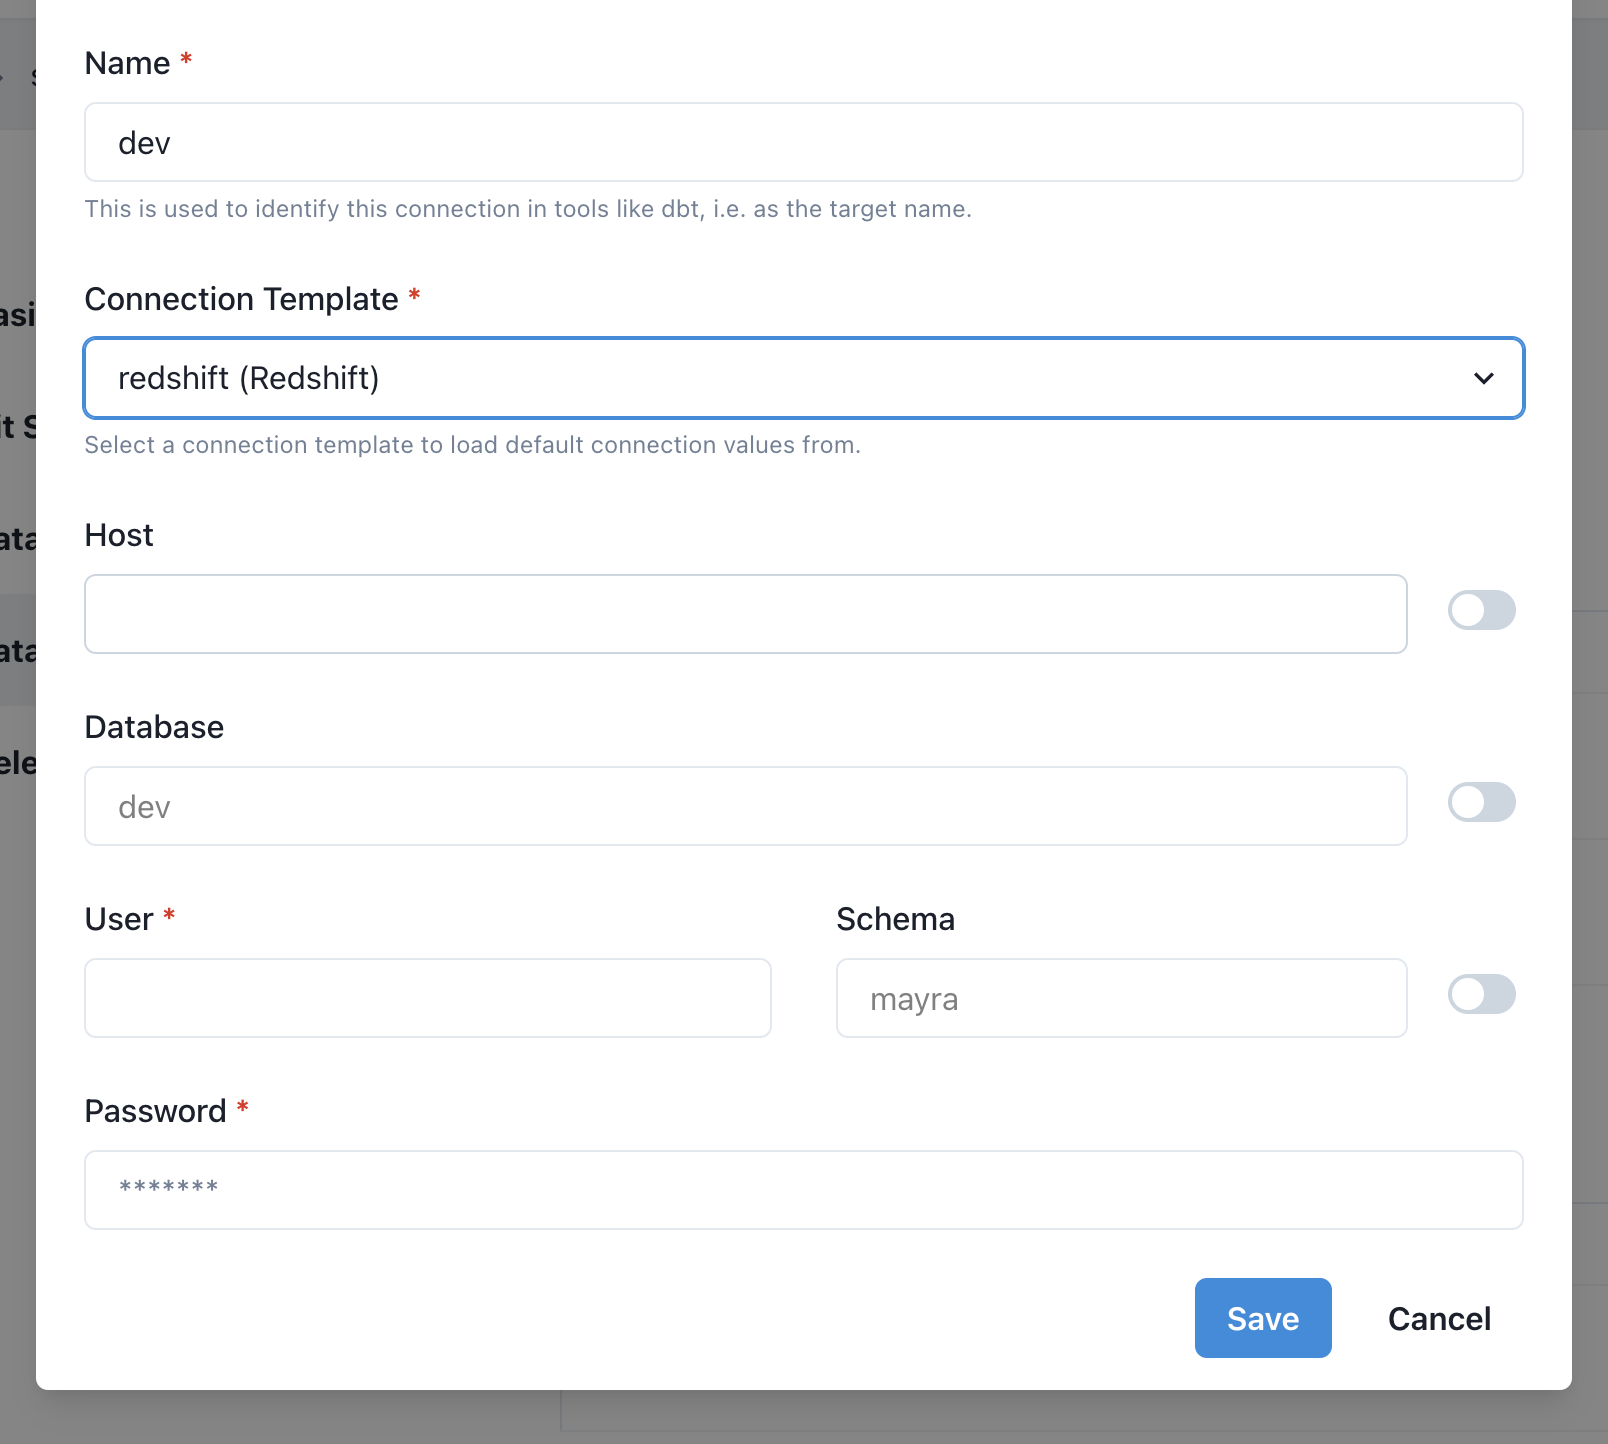
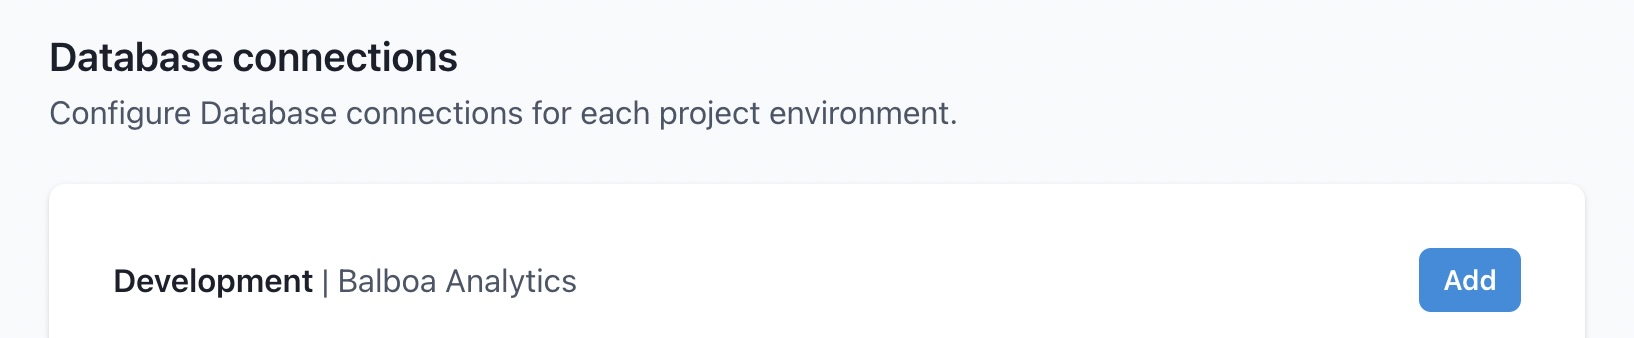
In the Database Connection Section, click Add
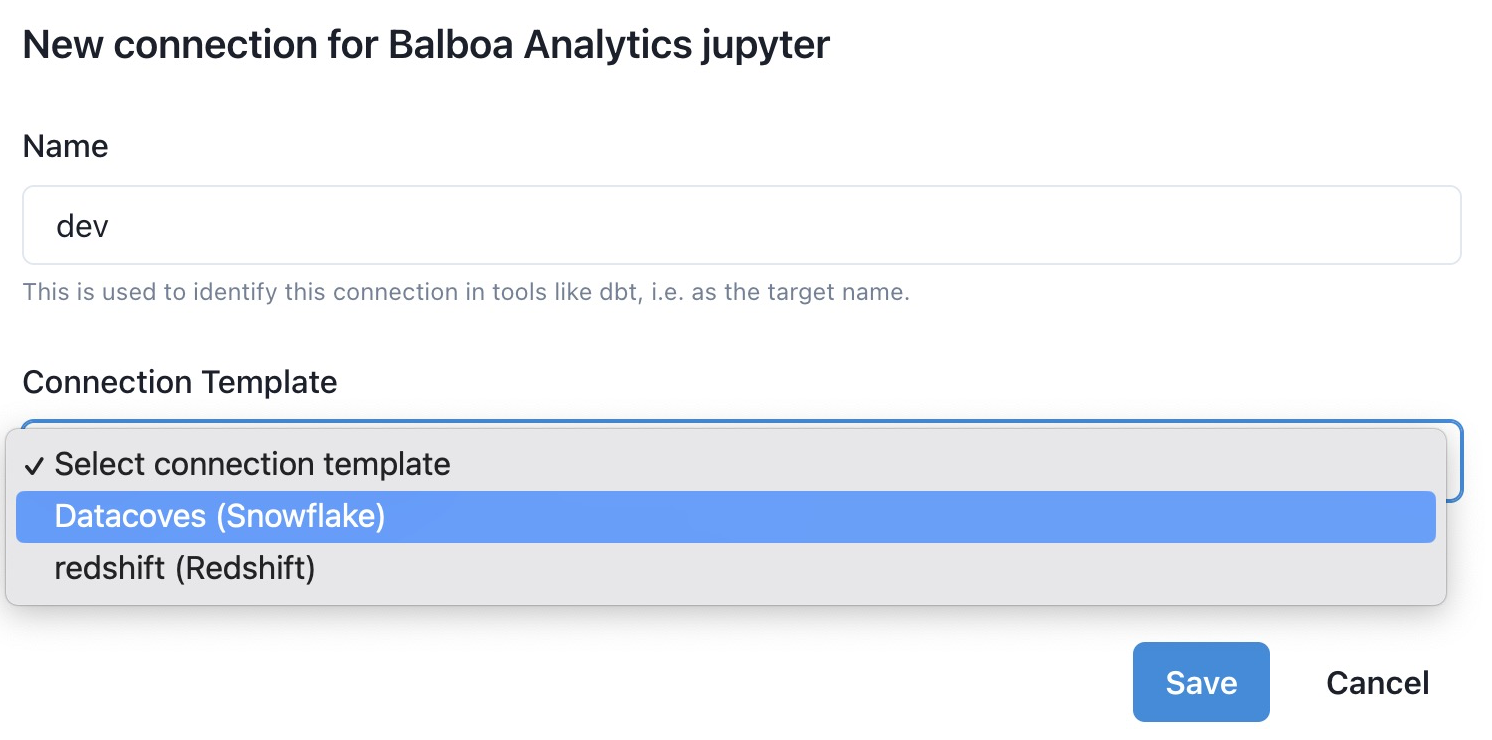
Give the connection a name.
This will be used as your dbt target name and is typically dev.
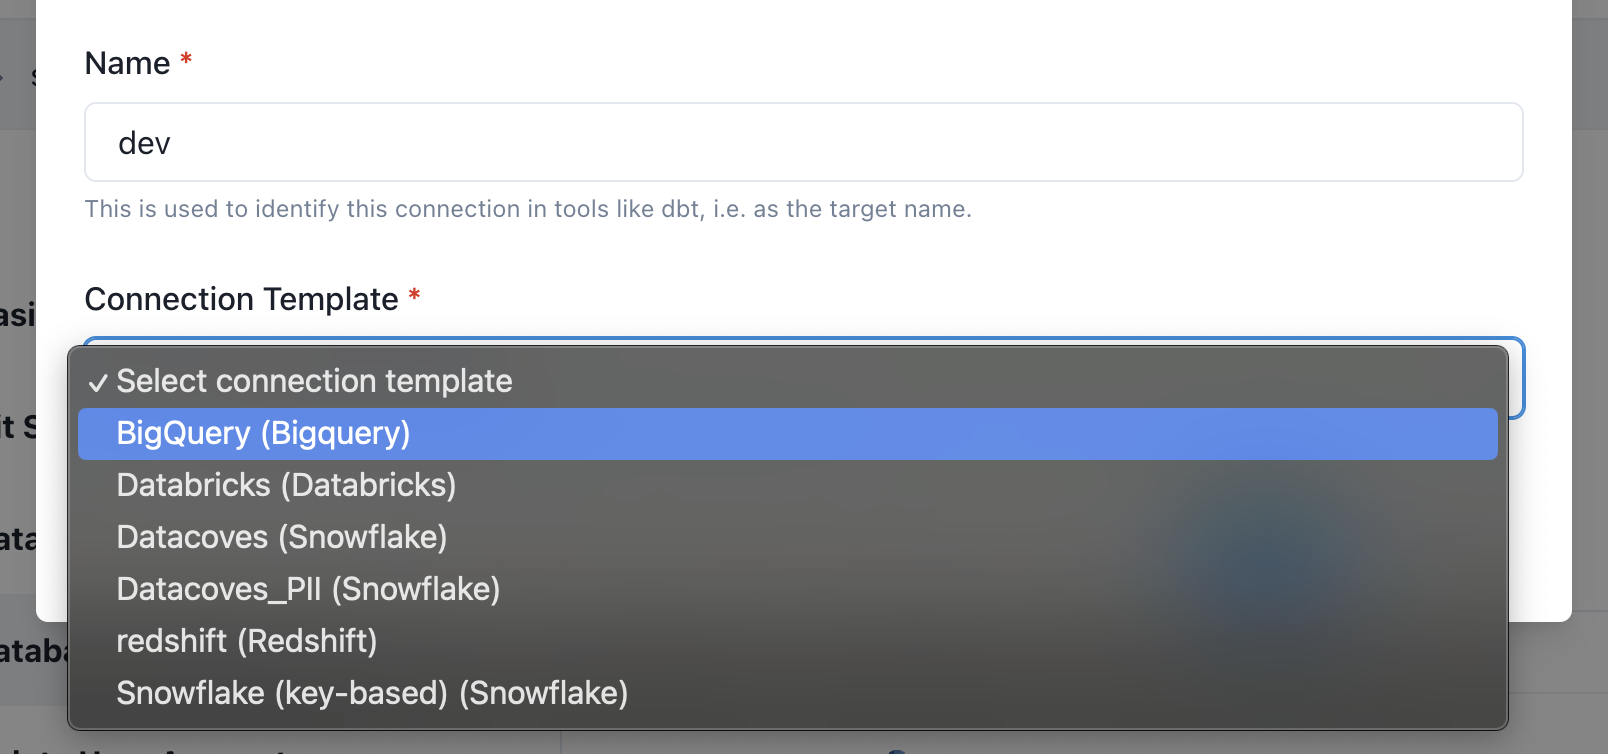
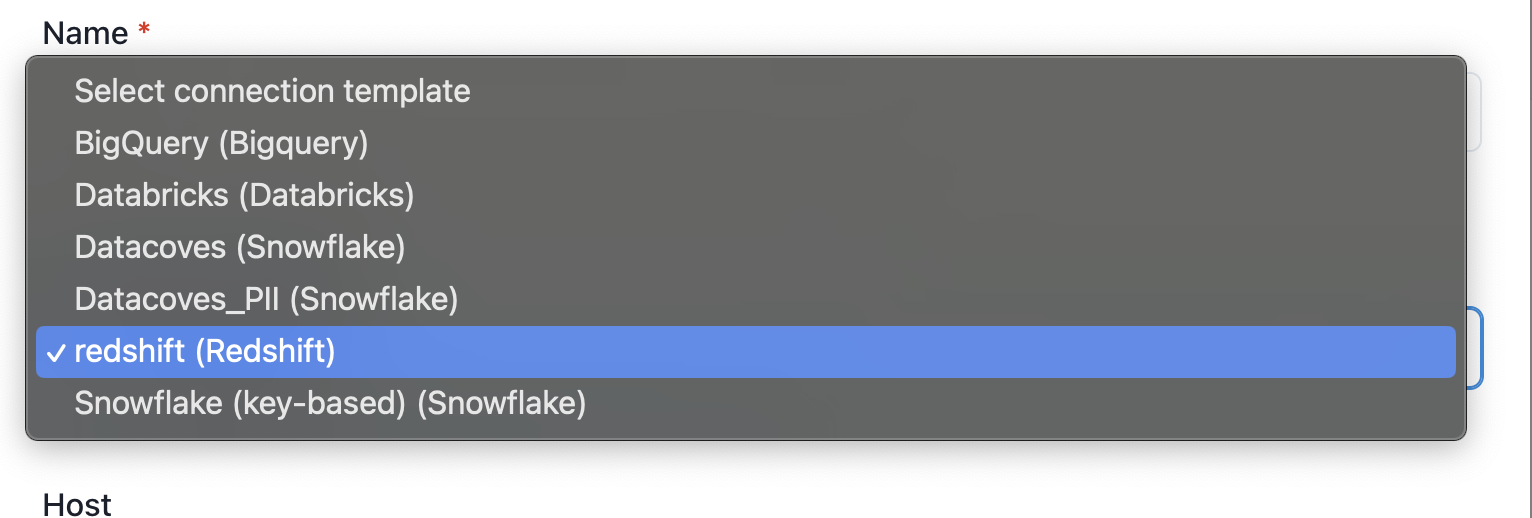
Next select a connection template. A connection template will have defaults pre-configured by your administrator.
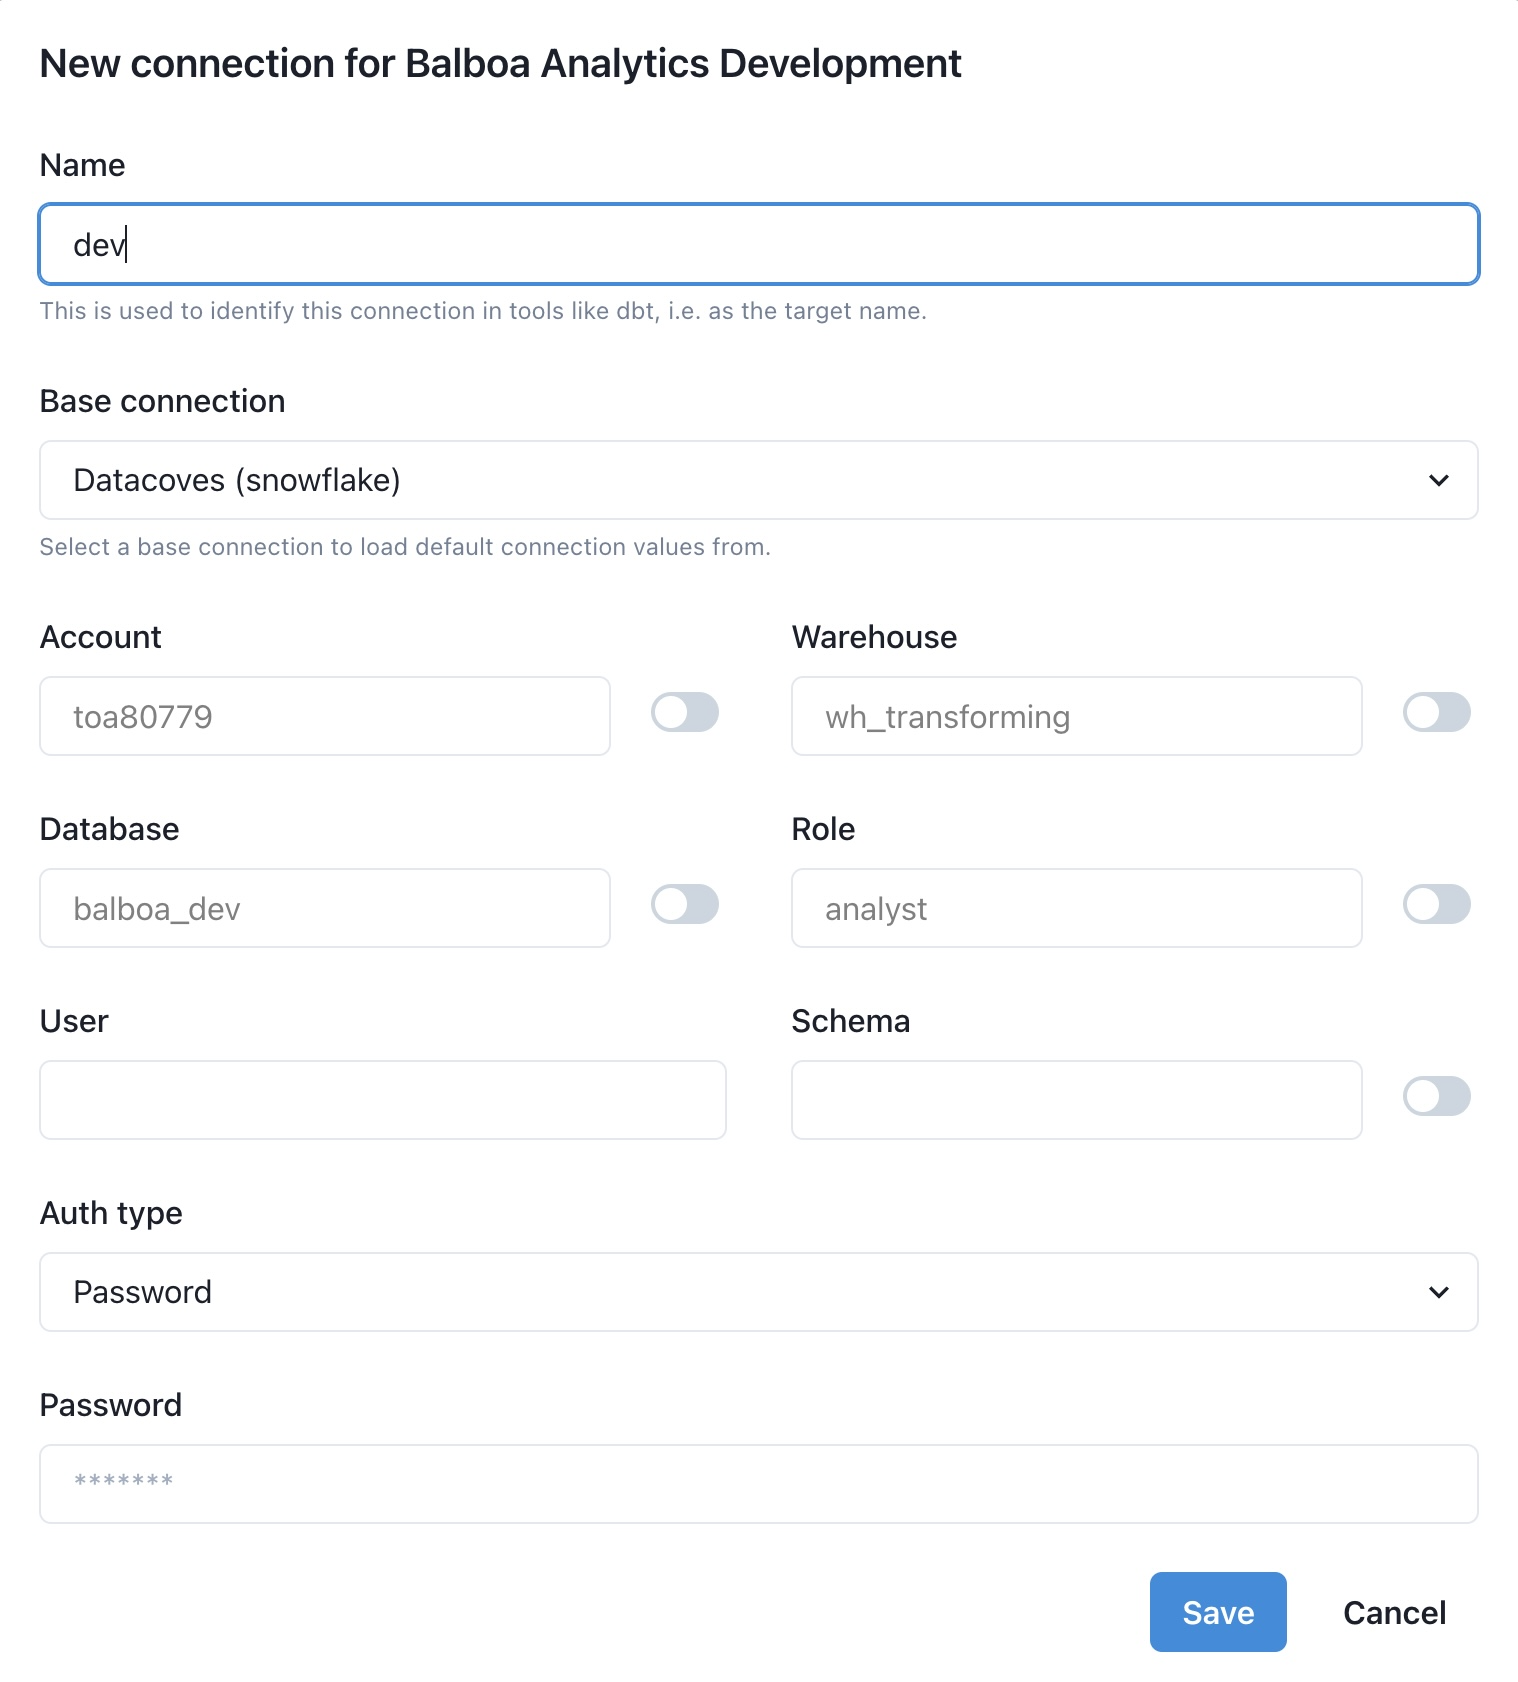
Fill in connection details
Datacoves will test the connection and display Tested next to the connection if successful.
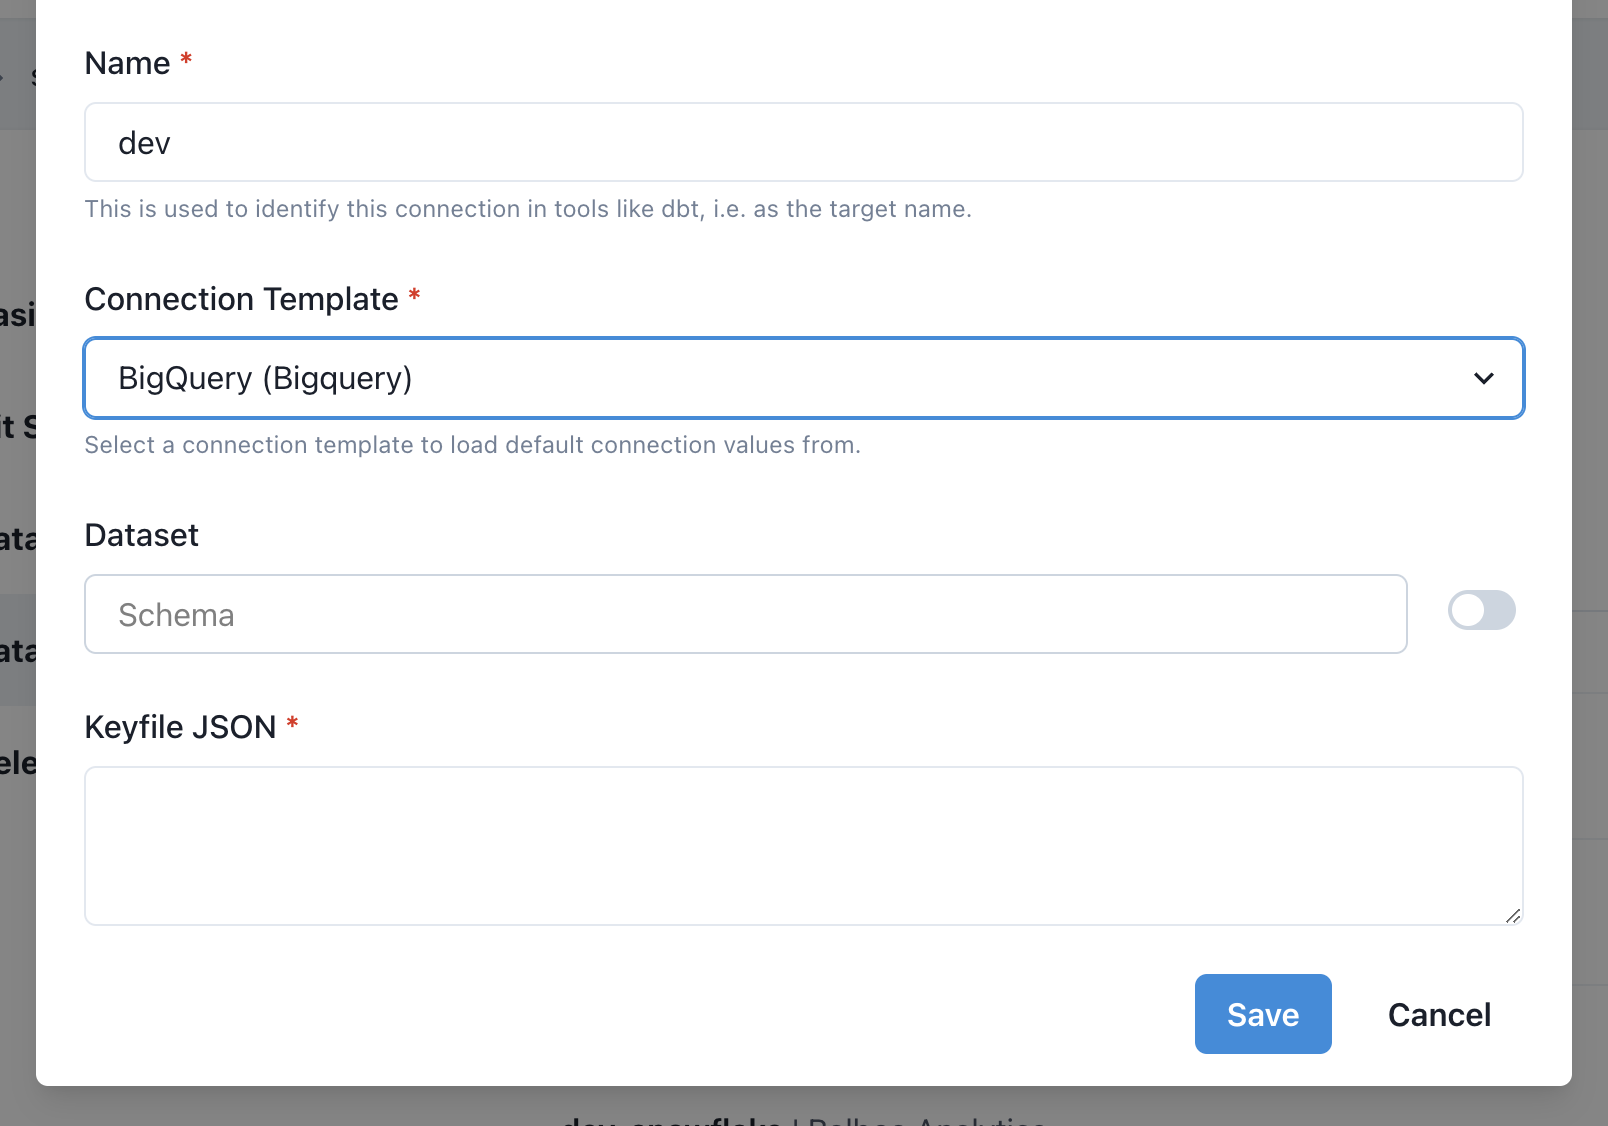
Click Save
Databricks Setup Instructions
Databricks Setup
In the Database Connection Section, click Add
Give the connection a name.
This will be used as your dbt target name and is typically dev.
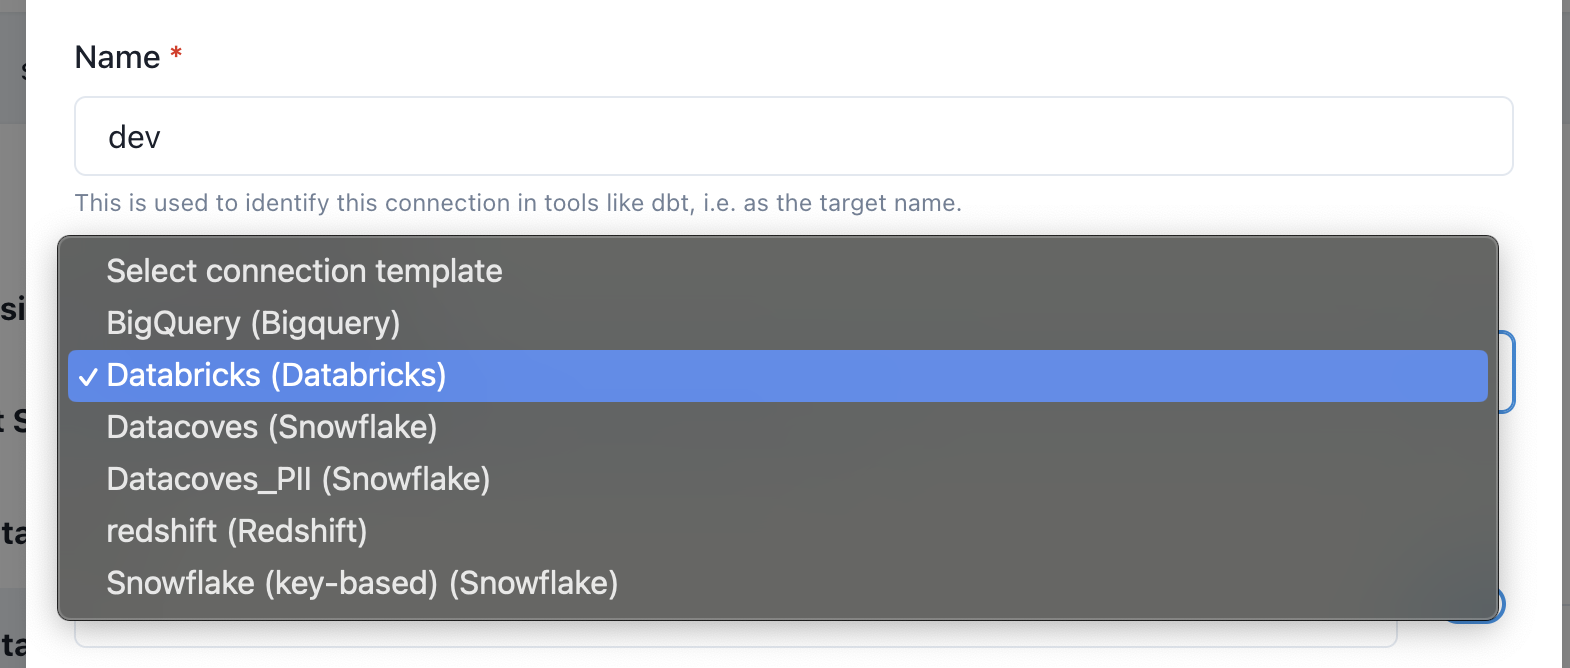
Next select a connection template. A connection template will have defaults pre-configured by your administrator.
Fill in connection details
Datacoves will test the connection and display Tested next to the connection if successful.
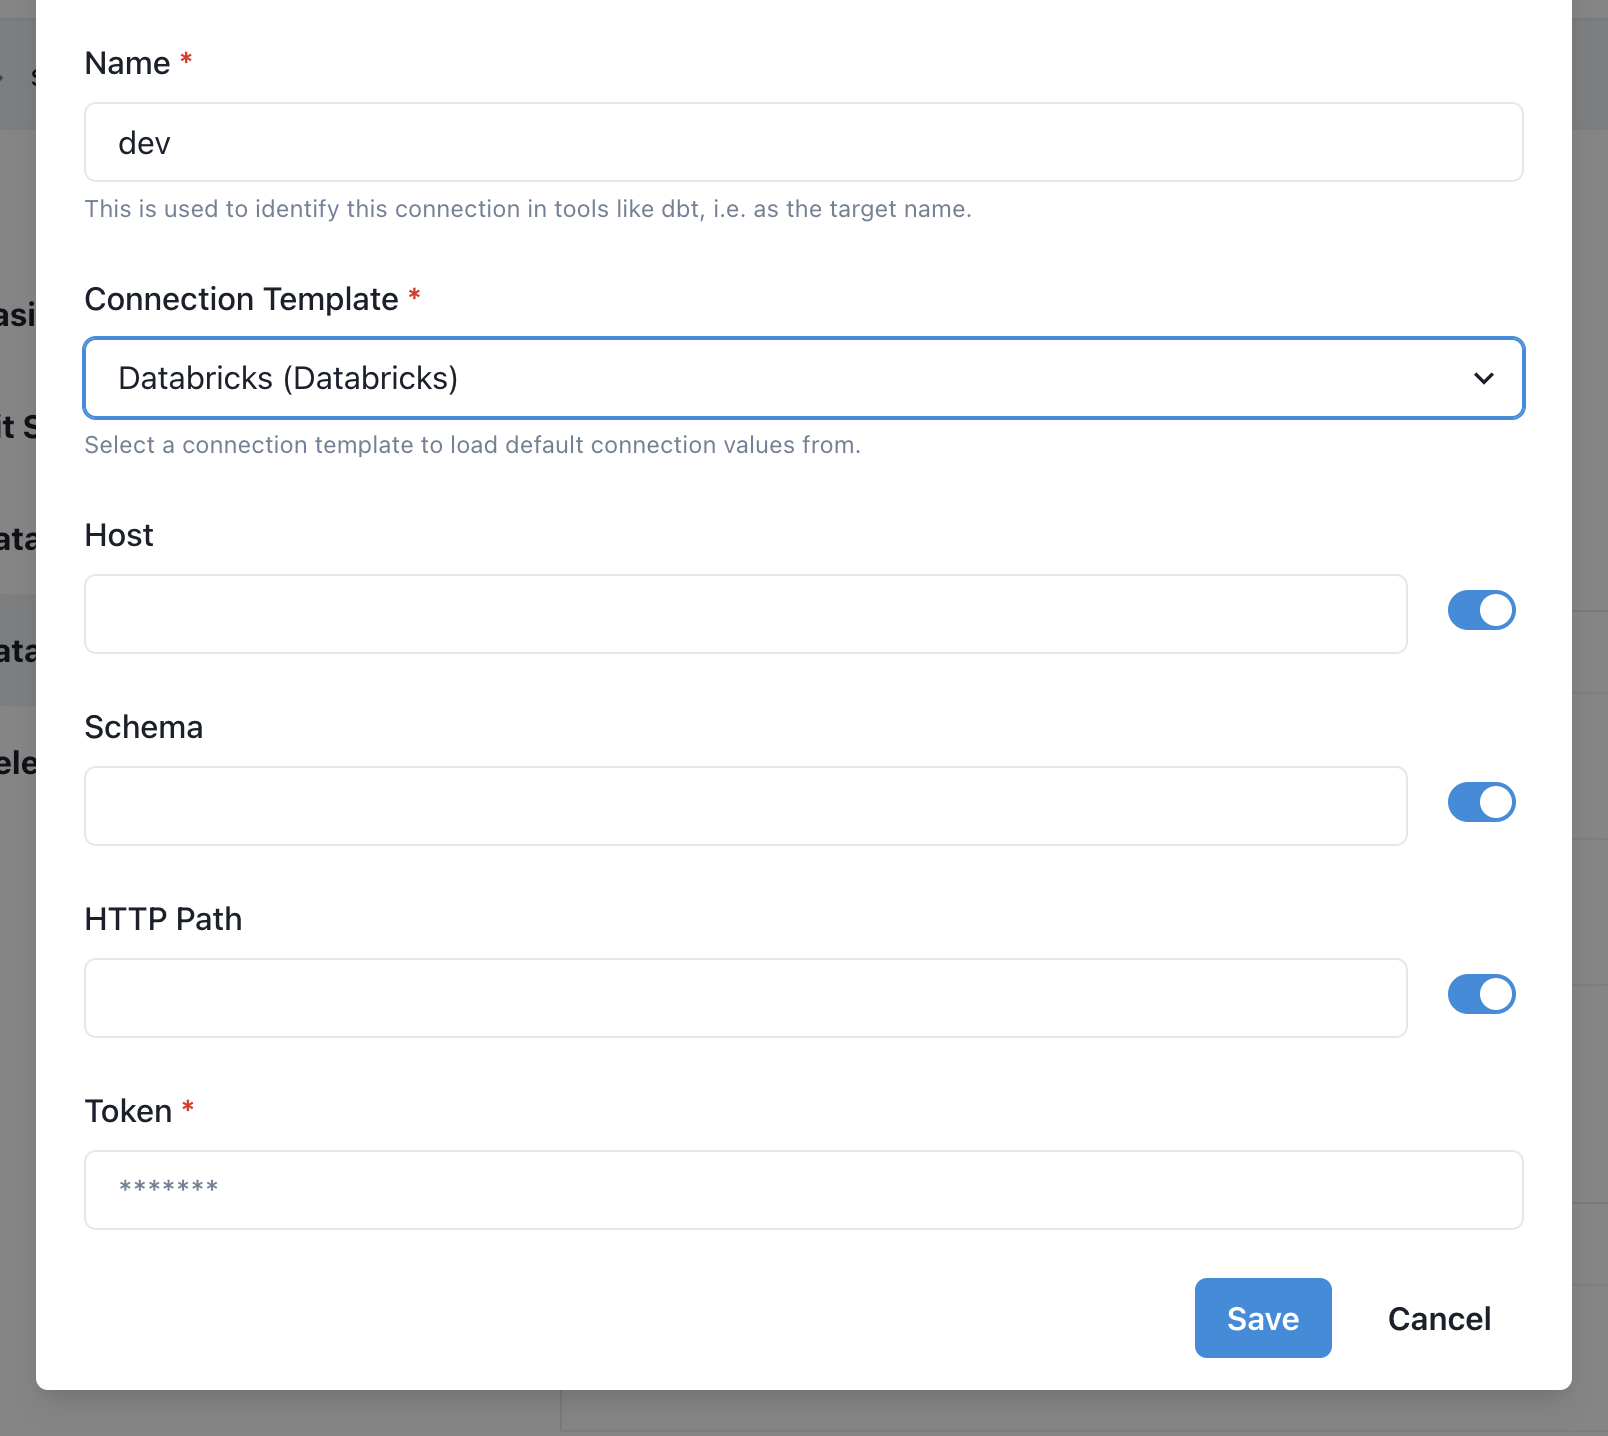
Click Save
Redshift Setup Instructions
Redshift Setup
In the Database Connection Section, click Add
Give the connection a name.
This will be used as your dbt target name and is typically dev.
Next select a connection template. A connection template will have defaults pre-configured by your administrator.
Fill in connection details
Datacoves will test the connection and display Tested next to the connection if successful.
Click Save
Snowflake Setup Instructions
Snowflake Setup
Setup Snowflake with Key Pair
When connecting to Snowflake, you can use either key based authentication or username/password authentication.
To enable key-pair authentication, your admin must select Inferred from user info using a custom template when setting up the Connection Template. The Snowflake username must match the username associated with the email used to authenticate with Datacoves, e.g., some_user would be the Snowflake username for some_user@example.com.
If using key based authentication, you will need to provide or generate a key which will need to be added to Snowflake manually or contact us for information on how to automate this integration with Snowflake.
Provide or automatically generate your keys. Then add the public key to Snowflake.
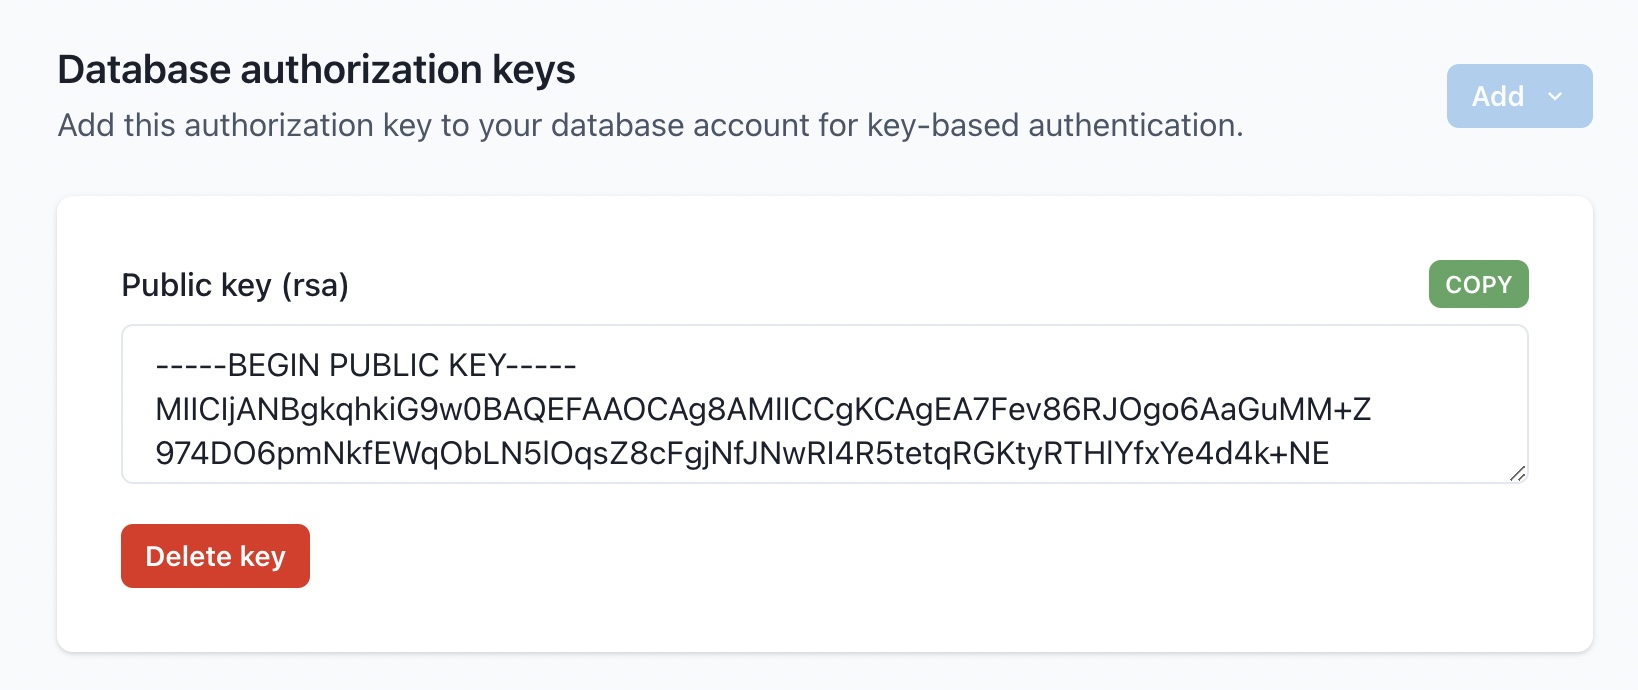
Assign the public key to the Snowflake User
alter user <username> set rsa_public_key='<public key>';
More information can be found in the Snowflake Documentation
Complete the connection
In the Database Connection Section, click Add
Give the connection a name.
This will be used as your dbt target name and is typically dev.
Next select a connection template. A connection template will have defaults pre-configured by your administrator.
Fill in connection details
Datacoves will test the connection and display Tested next to the connection if successful.
You can create additional dbt targets as shown below. This will allow you to execute dbt commands passing a specific target such as dbt run my_model -t prd
Key Pair
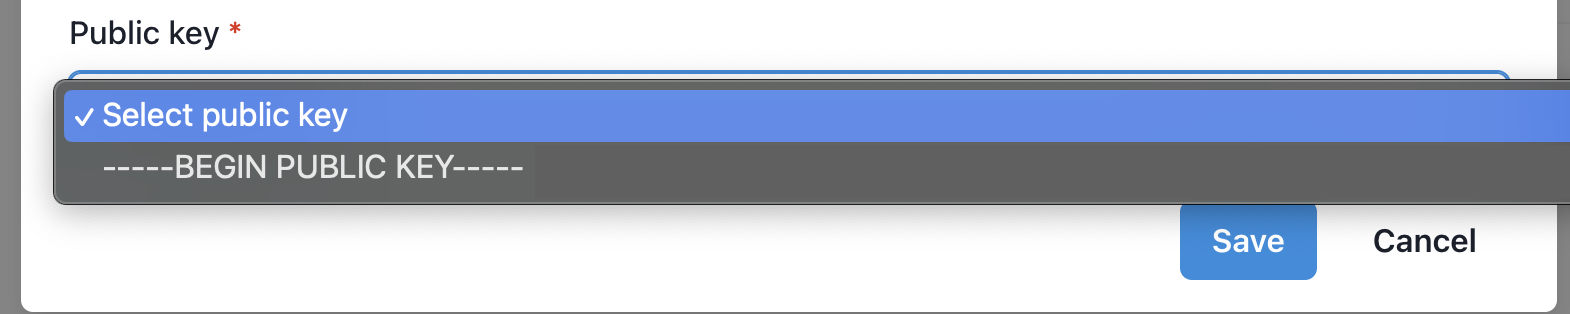
If using key pair, you will need to change the auth method to key-pair.

Select the drop down and your key you configured earlier should populate.
Click Save
Once your data warehouse is configured you are now ready to transform your data with dbt
- Scroll to the top of the screen, click
Launchpador the Datacoves logo. - Click
Opento go into your development environment.
Datacoves will take a couple of minutes to apply the new settings, clone your repo, and finish setting up your environment for the first time.