How to use My Airflow
Spin up your individual Airflow instance
Attention
Unlike Team Airflow which is always running, My Airflow will spin down after 4 hours of inactivity. If you are an existing Datacoves user you may need to migrate your environment variable based service connections . Users need both the sysadmin and the developer groups to access My Airflow.
My Airflow is a single instance allocated to a user. This allows the user to test their DAG in isolation before pushing it to Team Airflow for more robust testing. To spin up your own My Airflow:
Step 1:
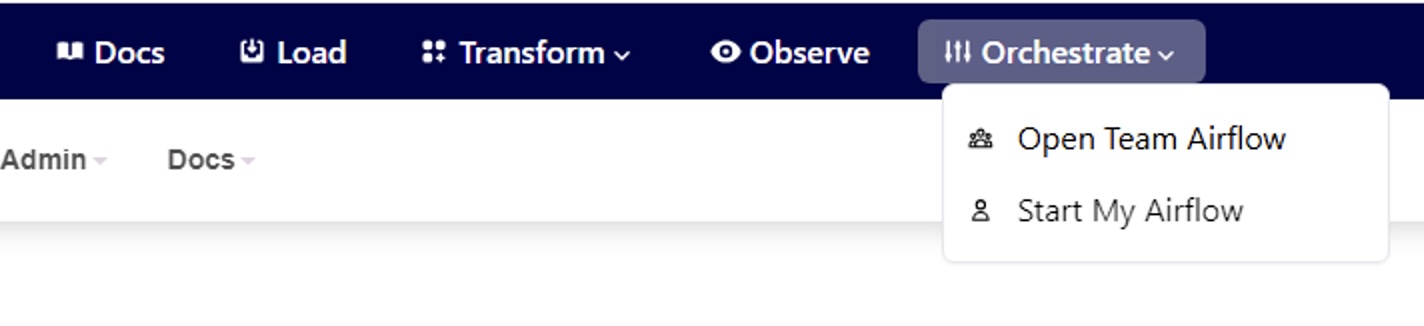
Select the
Orchestrate
tab and select
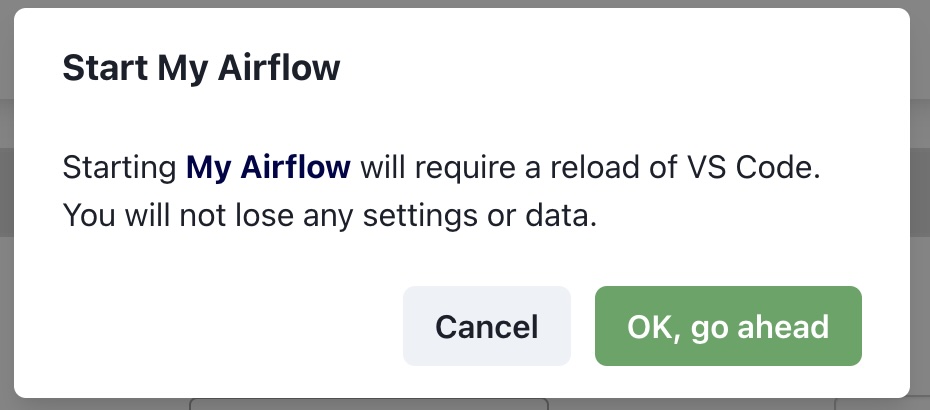
Start My Airflow
.
This will restart your development environment.
Step 2:
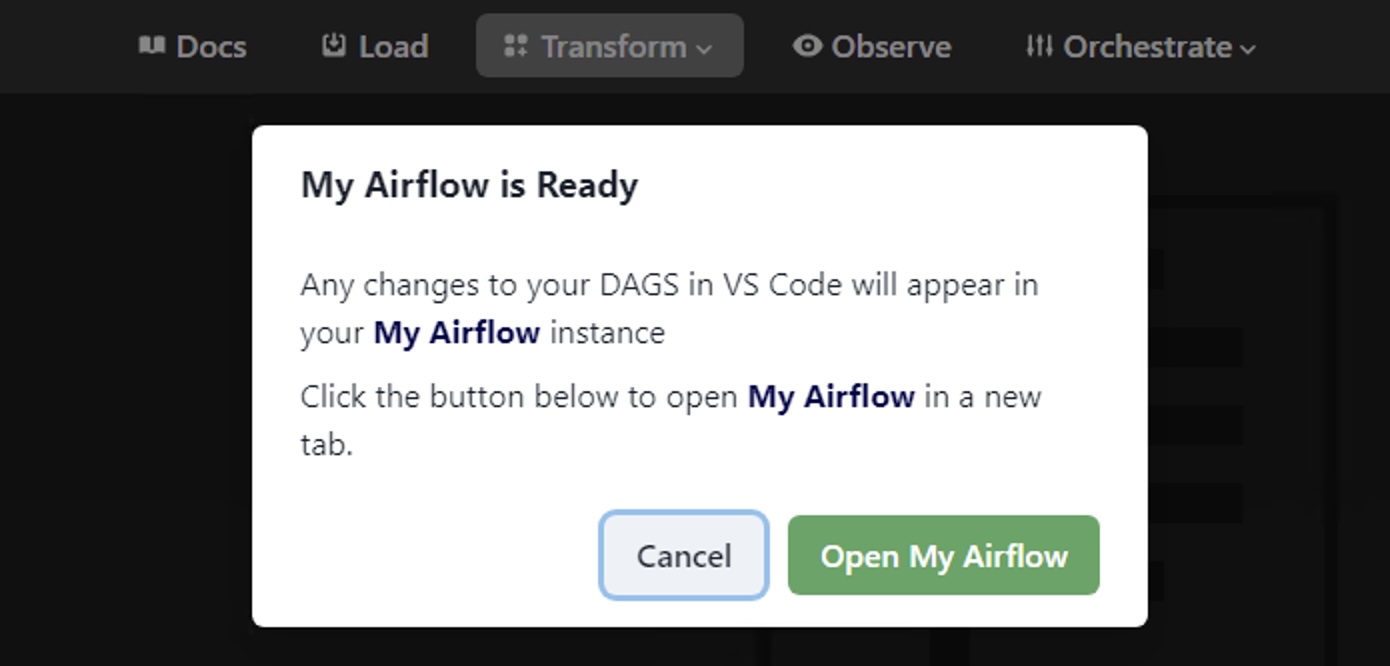
Once your environment has restarted. You will be notified that My Airflow is ready. Select
Open My Airflow
and click sign in.
Thats it, your My Airflow instance is ready to use! 🎉
Using My Airflow to Develop DAGs
Note
You must add or import connections and variables from Team Airflow. You can do this easily using
datacoves my import. For more information follow this documentation .
Developing your DAG using My Airflow is quick and easy.
Step 1:
Navigate to the
Transform
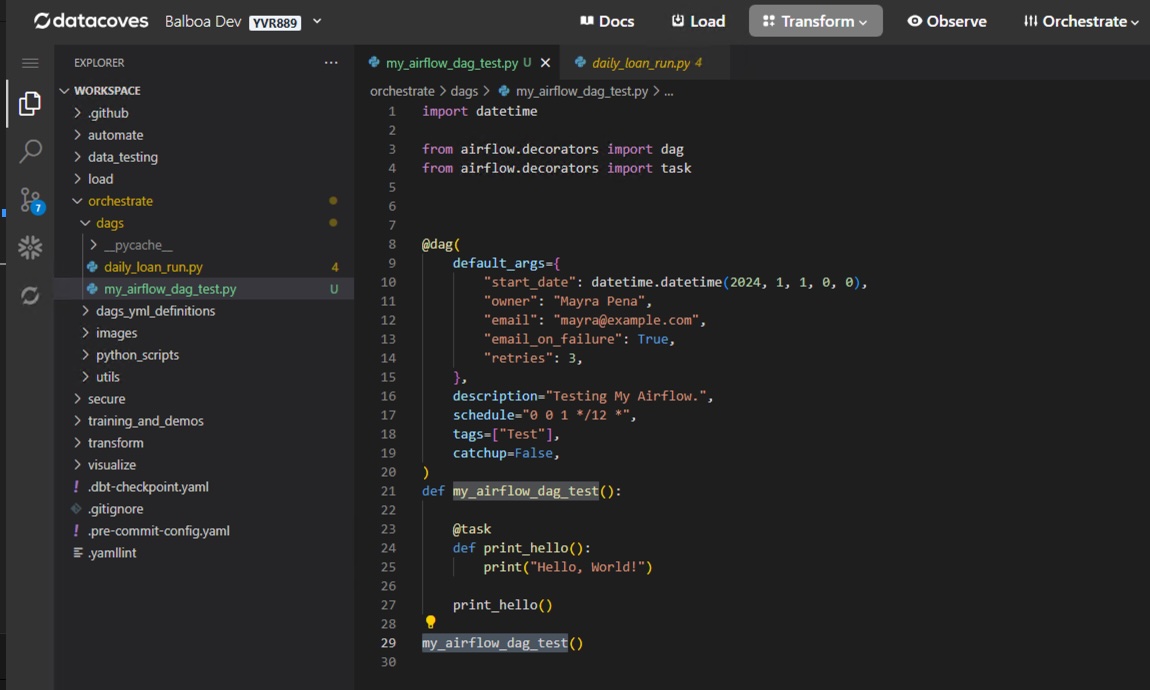
tab and start writing your DAG in the
orchestrate
directory. My Airflow will track whatever branch you have checked out ,however, we recommend developing in a feature branch.
In the example below I have added a new DAG called
my_airflow_dag_test
.
Step 2: Switch to your My Airflow browser tab to see your DAG changes populate in near real time. Notice the Light Blue Airflow Banner which is distinct for My Airflow.
Step 3:
Continue iterating until you are ready to test running your DAG. The limitation of My Airflow is that tasks cannot be run in parallel so robustly testing a DAG run is limited. Once you are ready to test a DAG run merge your feature branch into
airflow_development
. This will populate your DAG in Team Airflow.