Run Databricks Notebooks
You can use Airflow in Datacoves to trigger a Databricks notebook. This guide will walk you through the configuration process.
Prerequisites
-
Databricks Host:
This is the URL of your Databricks cluster. It typically looks like
https://<databricks-instance>.databricks.com. - Databricks Cluster ID: This is the identifier of the cluster you want to use to run your notebook.
- Databricks Token: If you do not have admin privileges, work with an admin to get the token. Follow the Databricks documentation here .
- Databricks Notebook Repo Path: This is the full path to the notebook you want to trigger from Airflow. We recommend using the Git Notebook feature in Databricks. This notebook is usually located in a Repos directory in Databricks.
How to get Databricks Host and Databricks Cluster ID
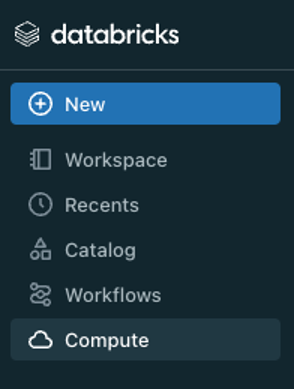
Step 1: Sign into your Databricks account.
Step 2: Navigate to compute.
Step 3: Click on your desired cluster.
Step 4:
Scroll to
Advanced Options
and
JDBC/ODBC
. Copy the value under
Server Hostname
. The host value will look something like this:
<databricks-instance>.databricks.com
.
Step 5:
Scroll to
Tags
and expand
Automatically added tags
. Your
ClusterId
should look something like this:
0123-5678910-abcdefghijk
.
How to get Databricks Token
If you do not have admin privileges, work with an admin to get the token. Follow the Databricks documentation here .
How to get Databricks Notebook Path
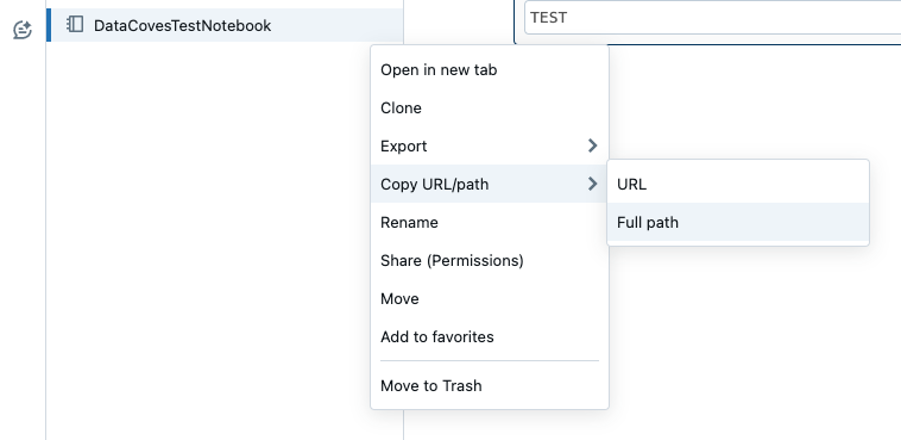
Step 1: Navigate to your notebook in the Databricks user interface.
Step 2: To the right of the notebook name, there will be three dots. Click on this and select the option to copy the full path to your clipboard.
Handling Databricks Variables in Airflow
It is best practice to use Airflow variables for values that may need to change in your Airflow DAG. This allows for easy updates without redeployment of your Airflow code.
It is possible to hardcode these two variables in your DAG if you don’t see them needing to be changed.
- DATABRICKS_CLUSTER_ID : Your databricks Cluster ID
- MY_NOTEBOOK_REPO_PATH : This should be a meaningful name as you may have many notebooks you wish to trigger eg) INSERT_INTO_RAW_REPO_PATH
Step 1:
A user with Airflow admin privileges must go to the Airflow
Admin -> Variables
menu and add the variables and their values.
Create a Databricks Connection in Airflow
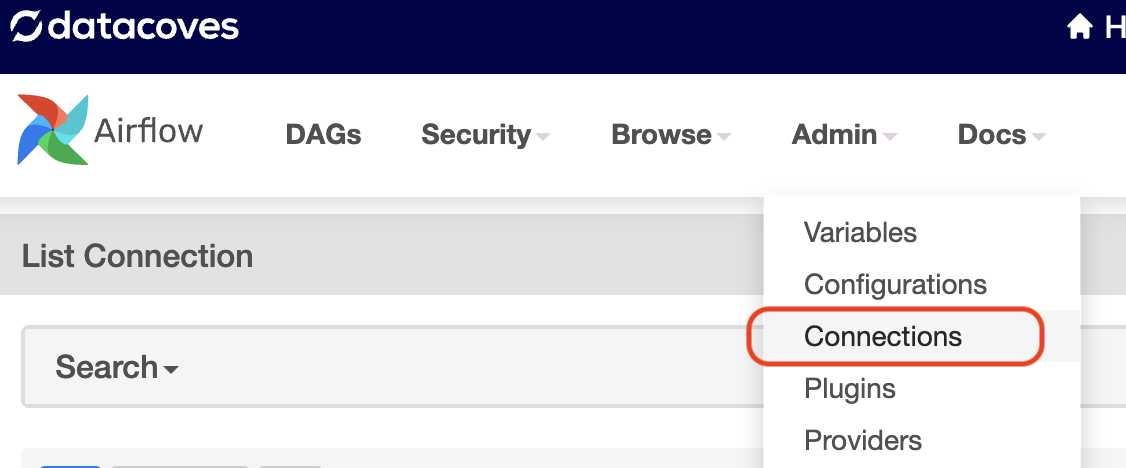
Step 1:
A user with Airflow admin privileges must go to the
Airflow Admin -> Connection
menu.
Step 2: Create a new connection using the following details:
-
Connection Id:
databricks_default<- this name will be used in your DAG -
Connection Type:
Databricks -
Host:
Your Databricks host. E.g.
https://<databricks-instance>.databricks.com -
Password:
Enter your
Databricks Token
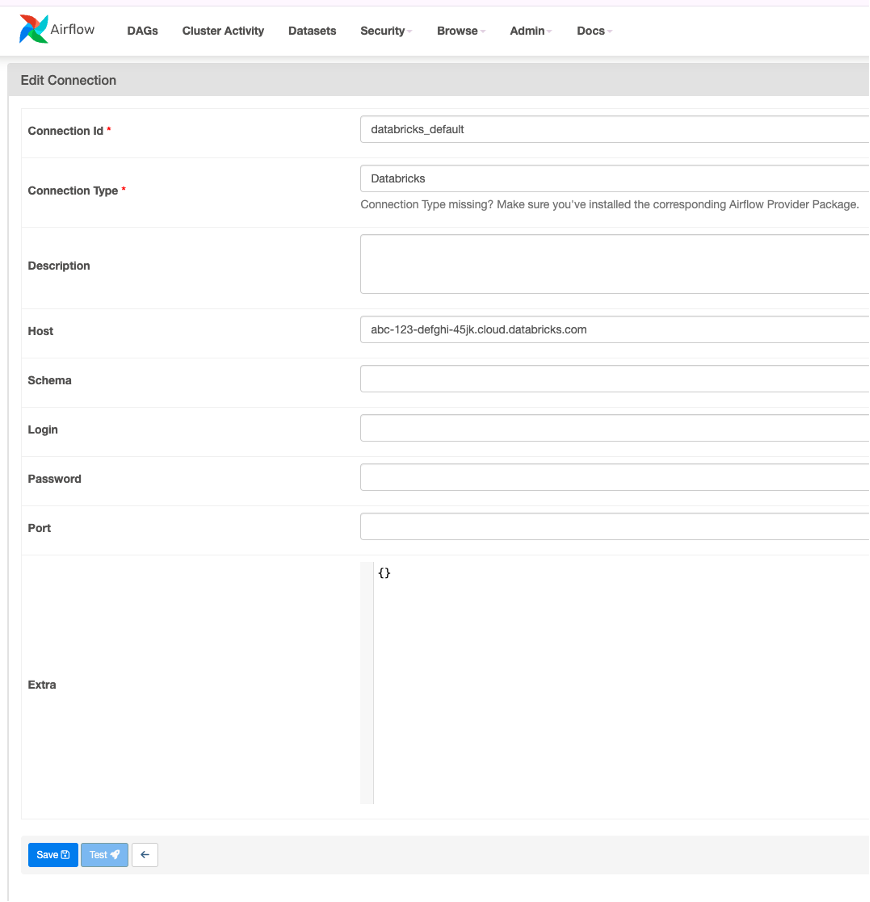
Step 3:
Click
Save
Example DAG
Once you have configured your Databricks connection and variables, you are ready to create your DAG. Head into the
Transform
tab to begin writing your DAG inside the dags folder, e.g.
orchestrate/dags
.
Git Notebook as the source (Recommended)
We recommend using a git as the source to leverage version control when developing notebooks. Be aware that if changes are made in the databricks tracked branch (
GIT_BRANCH
), they will be executed in Airflow regardless if the changes are committed into Git. The best practice is to have users develop on feature branches and then merge to main.
import os
from datetime import datetime
from airflow.models import Variable
from airflow.decorators import dag
from airflow.providers.databricks.operators.databricks import DatabricksSubmitRunDeferrableOperator

DATABRICKS_CLUSTER_ID = Variable.get("DATABRICKS_CLUSTER_ID")
MY_NOTEBOOK_REPO_PATH = "/PATH/TO/MY/NOTEBOOK"
GIT_BRANCH = "main"  # Specify the branch you want to use

@dag(
    schedule="@daily",
    start_date=datetime(2024, 1, 1),
    tags=["version_1"],
    catchup=False
)
def databricks_example_run():

    notebook_task_params = {
        "task_key": "unique-task-key",
        "notebook_task": {
            "notebook_path": MY_NOTEBOOK_REPO_PATH,
            "base_parameters": {
                "branch": GIT_BRANCH  # Specify the branch in variable
            }
        },
        "source": "GIT",
        "existing_cluster_id": DATABRICKS_CLUSTER_ID,
        "run_name": "databricks_workbook_run",  # Update with a unique name
    }

    DatabricksSubmitRunDeferrableOperator(
        task_id="notebook_task",  # Rename with appropriate name
        json=notebook_task_params,
        databricks_conn_id="databricks_default"  # Must match databricks connection id set above
    )

dag = databricks_example_run()
Understanding the Airflow DAG
-
The DAG makes use of the
DatabricksSubmitRunDeferrableOperatorwhich uses the jobs/runs/submit endpoint of the Databricks API. You can see the full list of options available by looking at the previous two links. -
We’re passing a Notebook task object with the source set to
GIT, meaning the notebook will be retrieved from Databricks Repos, which is synced with a version-controlled Git repository. Alternatively, you can set the source toWORKSPACEto pull the notebook code directly from the local Databricks workspace. UsingGITis generally more reliable for production environments because it ensures that the notebook code is managed through a version-controlled system, providing consistency and traceability. -
And lastly, we have customized the
run_name. In a non-example DAG, you would want this to be unique so you can better identify the runs in Airflow and Databricks.