Snowflake Setup
Setup Snowflake with Key Pair
When connecting to Snowflake, you can use either key based authentication or username/password authentication.
Note
To enable key-pair authentication, you admin must select
Inferred from user info using a custom templatewhen setting up the Connection Template . The Snowflake username must match the username associated with the email used to authenticate with Datacoves for examplesome_userwould be the snowflake username forsome_user@example.com, please let us know if your username is different.
If using key based authentication, you will need to provide or generate a key which will need to be added to Snowflake manually or contact us for information on how to automate this integration with Snowflake.
Provide or automatically generate your keys. Then add the public key to Snowflake.
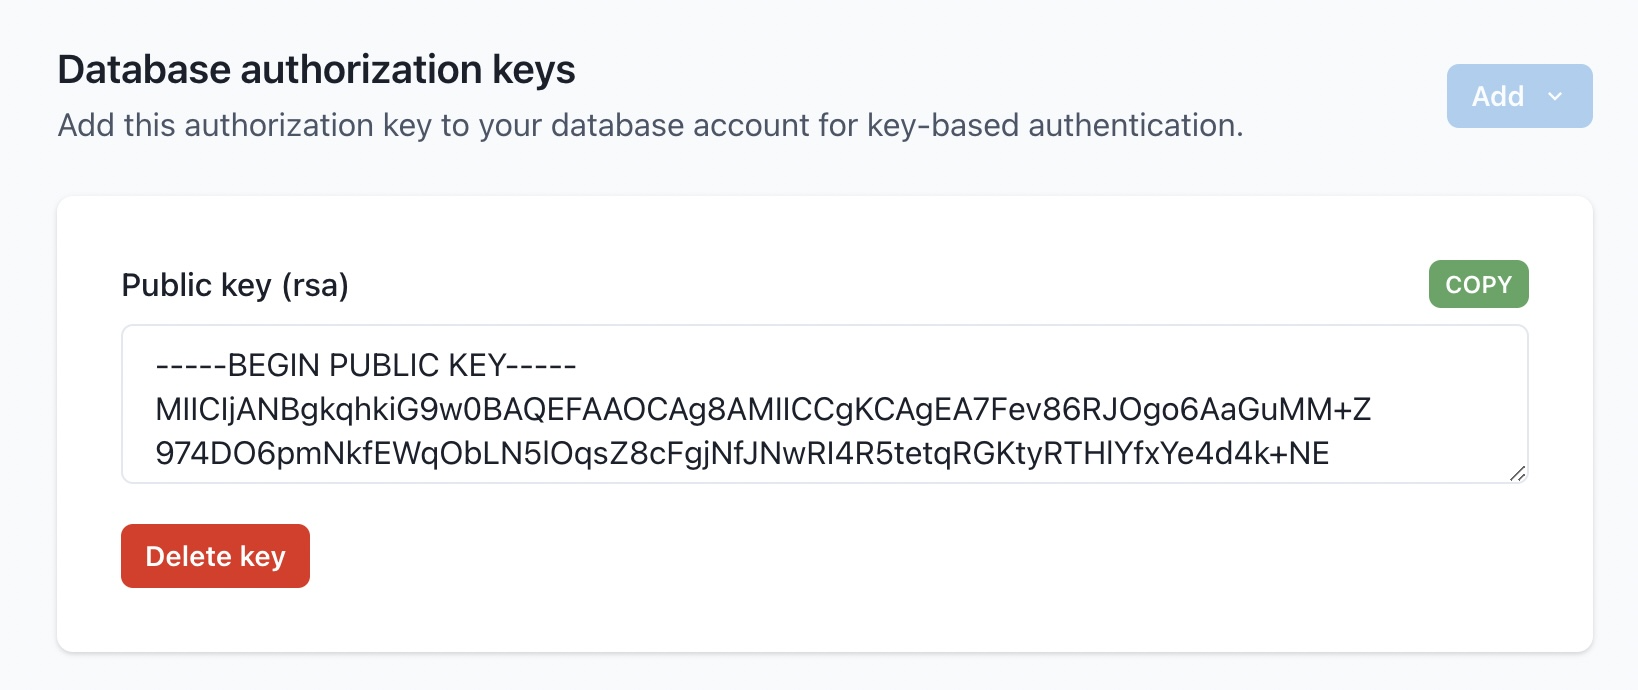
Assign the public key to the Snowflake User
alter user <username> set rsa_public_key='<public key>';
More information can be found in the Snowflake Documentation
Complete the connection
In the Database Connection Section, click
Add
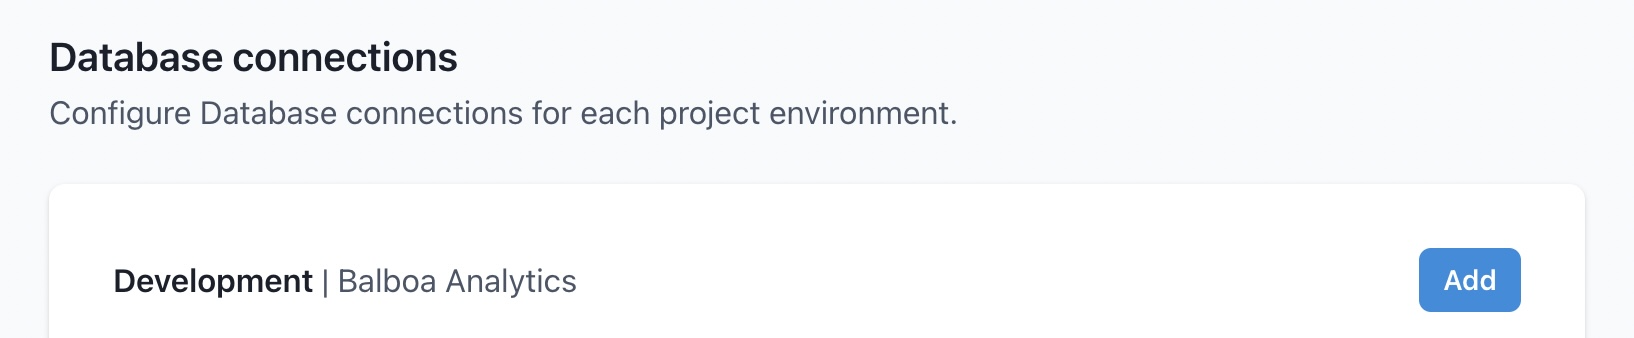
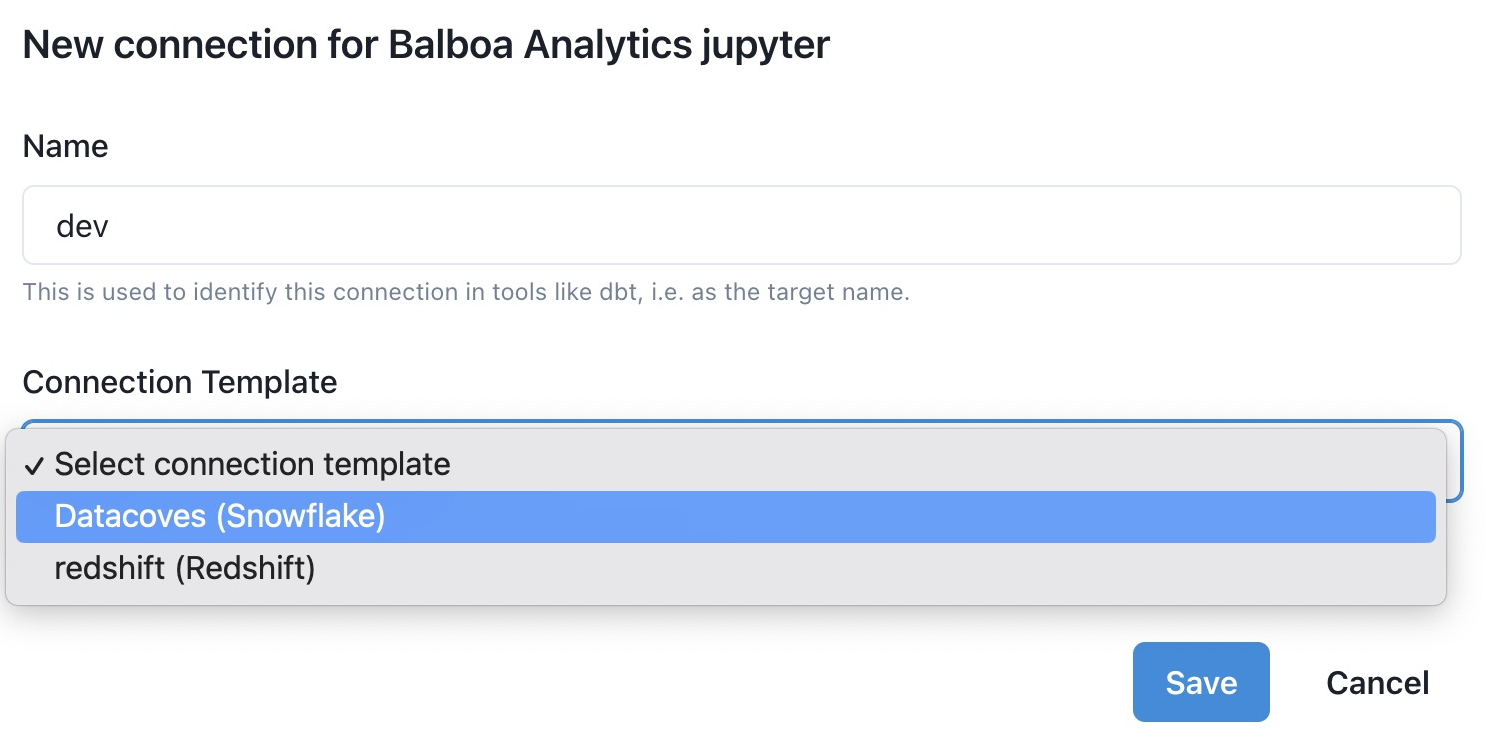
Give the connection a name.
Tip
This will be used as your dbt target name and is typically
dev.
Next select a connection template. A connection template will have defaults pre-configured by your administrator.
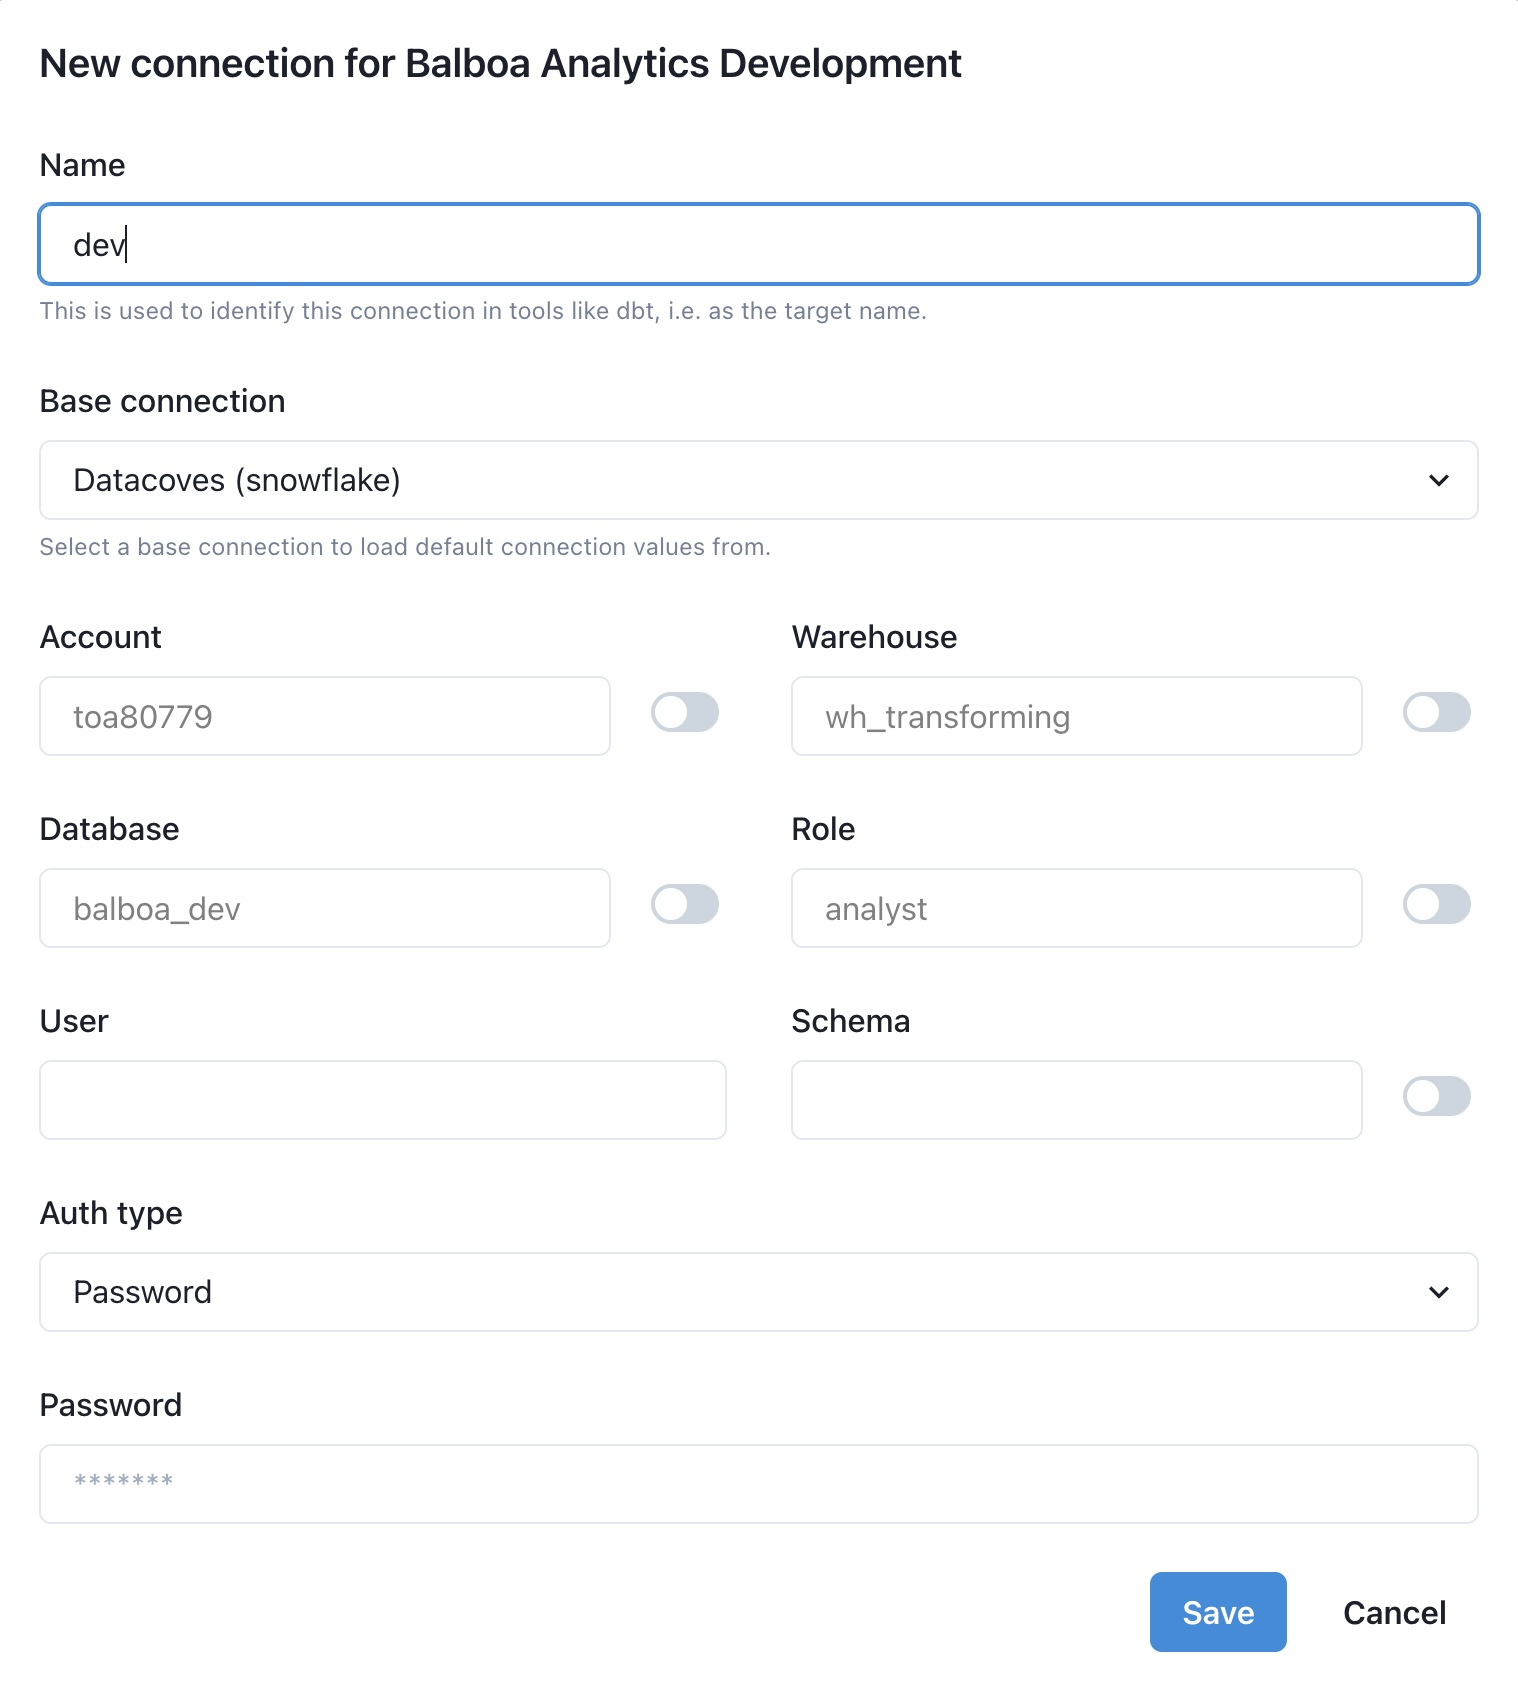
Fill in connection details
Datacoves will test the connection and display
Tested
next to the connection if successful.
Note
You can create additional dbt targets as shown below. This will allow you to execute dbt commands passing a specific target such as
dbt run my_model -t prd
Key Pair
If using key pair, you will need to change the auth method to key-pair.

Select the drop down and your key you configured earlier should populate.
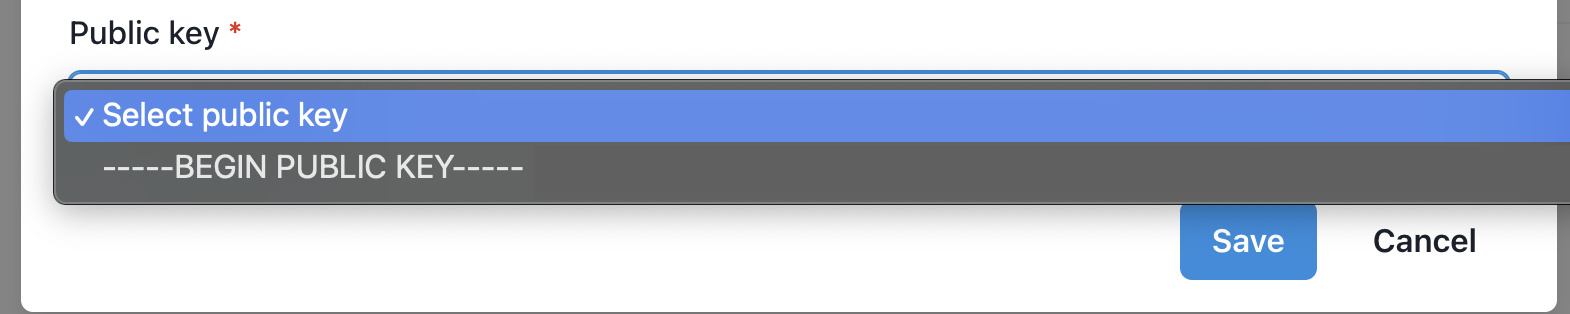
Click
Save